If you are a Dynamics 365 Marketing user, you may have already seen that you can trigger Power Automate in your Marketing Journey (Real-Time Marketing). And why is this a good thing? Power Automate allows users to create, update and delete records and can assign records or complex pass-through processes.
There are several actions you have to do before you can trigger Power Automate through Marketing App.
Let’s see all steps necessary to perform before you start using Power Automate together with Dynamics 365 Marketing app.
First, you must create a Customer Journey in Real-Time Marketing.
I have created a simple Journey that starts with a Segment and has only one stage, after which Power Automate will be triggered. But you can create as many stages before initiating Power Automate.

You need to take care of time when you want to start this Journey. Of course, you are not obligated to use Segment as I did. Still, this was the easiest way to show you how to start using Power Automate in your day-to-day Marketing Journeys.

After choosing the Segment, we will continue with the Journey creation.
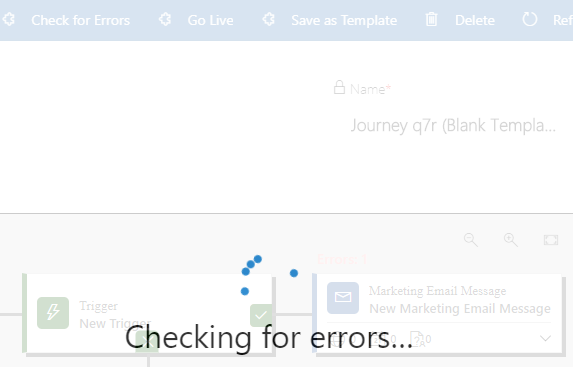
What we have to do next is to add a new action to our Journey, which will activate a Custom Trigger.

The system will give you one lookup file where you can choose some of the previously created triggers, and then you can use one trigger for multiple Journeys.

But now we will choose to create a new one. When you choose New Trigger, the popup window will open, and you will start defining your trigger.

Here you define some of the usual things like Name and Description, but the critical part for Power Automate is where you define Attributes.
Suppose you have been creating Manually Triggered Flow or Power Automate from the Canvas app for example, or just triggered based on Power Automate. In that case, this is how we get values and proceed them through Power Automate.
This is where you will define key attributes you need to use from this Journey in your Power Automate.
I have created one attribute named First Name for this purpose, but be free and create as much as you need for your Journey.
After defining attributes, finish through the wizard, and you will be able to come back to Journey Form.
Now when you are on the Journey, you must do some mapping.
This is one of the most critical parts because you map your attributes to the fields on Entity/Table.

This is too last step before we go to Power Automate.
Because we had only First Name and Table is Contact, and I have found just my Field in the list of Fields. Just be aware that you must map all attributes you have defined.
And this is the end of the Marketing part.
Now we are going to create one Power Automate.
First, go to the Power Automate page, Name your Flow as you like, and choose Datavesr – When Action is Performed as Trigger.

So in the following screenshot, you will have to be careful what you are choosing.
Catalog > Cxp
Category > Custom
Table name > (none)
Action Name > Choose your action

And the next thing is to continue with Power Automate creation.
I will add a new step where I will use data from our attribute definition. But you can, from now on, create new records, update records, send an email notification, send approvals, work with all connectors in Power Automate, and make the best possible Journey and the best possible steps which have to be automated after your Journey pass.

When you finish with Power Automate creation, Save it and Close it, and return to your Customer Journey Page in Marketing, where you can Publish your Journey and wait for the magic to happen.
I hope that this feature in Dynamics 365 Marketing will allow you to create more complex and more customer-oriented Marketing Jounies, which will allow you to deliver better content to your clients. After all, Power Automate is a really powerful tool that can bring a lot of new ideas, which now can be achieved together with Dynamics 365 Marketing Real-Time Jounies in day-to-day use for Marketing experts.