My PPTs from Directions EMEA and NA

I’ve just published my Power Point presentations from both of Directions conferences. You can find presentations from Directions EMEA and Directions NA. I didn’t want to publish them earlier because Directions NA wasn’t closed.

Now, you can find all details from these two presentations and learn how to implement standard NAV solution in construction business. If you need some help about this, give me a question. If you want to know more about vertical solution for NAV in Construction, I will answer everything you need.

Presentation from Directions EMEA 2015

Presentation from Directions NA 2015

These presentations will be available for download until the end of this year.

Advertisement

Directions NA 2015 has opened

Direction NA 2015 has opened yesterday in Orlando (Florida). This is one of the most important NAV conferences in America. There are about 600 attendees. Key note session by Microsoft was a bit different as on Directions EMEA. In the forefront, it was Microsoft Dynamics NAV Managed Service, a really amazing tool for managing your clients on the cloud.

Today we are starting with new sessions. You can find more (agenda, speakers, sponsors…) about this event on this link.

WP_20151025_015

How to Install NAV 2016 Phone Client as Test Environment

We have new NAV 2016 more than two weeks. One of the really exciting news is using of Universal Apps. We finally can use NAV on phone.

But one of conditions of using of Phone Client is installing of security certificate. This is the same story as we already have in NAV 2015 for using of Tablet Client. If we have signed certificate, there is no problem. But if we have not it…

Can we use self-signed certificate on phone? Yes, we can. I will show how to do it on Windows Phone.

Of course, first we need to download Dynamics NAV Universal App for Windows Phone from Store. Type Dynamics NAV in Store Search and download this app. You can easy find it as app made by Microsoft Corporation with new logo.

Than we have to have installed NAV 2016. In my example, I’ve installed NAV 2016 on Azure. You can do it easy if you have Azure subscription. Or you can do it on your own servers and install self-signed certificate on your server. If you deploy NAV 2016 on Azure using PowerShell scripts, you will have already created certificate. I’ll install this certificate on my own computer in Internet Explorer.

Run your Internet Explorer as Administrator and type your NAV 2016 Web Client URL. Choose “Continue to this website (not recommended).” and click on “Certificate error” > “View Certificates” > “Install Certificate”.

PhoneClient1

Choose Local Machine and “Place all certificates in the following store” > Browse > “Trusted Root Certification Authorities” > OK > Next > Finish > OK > OK.

Open MMC on your computer and add Certificates as snap-in using Add/Remove Snap-in command. Open “Certificates – Current User” > “Trusted Root Certification Authorities” > Certificates and find your already installed certificate. Right-click on certificate and chose Open. Go to Details tab and click “Copy to file” > Next > Next and choose your certificate name. Save this certificate XXXXX.cer on your computer and send it to your e-mail (e-mail using on your phone).

When you get this e-mail on your phone, click on your certificate in attachment and install it. Then run your Dynamics NAV Universal App and type your service URL https://YourComputerName/WebServerInstance and your username and password.

PhoneClient2

If you finished everything I said, you will open your NAV instance on your phone as you can see on picture.

How to Run NAV 2016 Integration with CRM Online

In my previous article, I described how you can register your trial CRM Online subscription. Now, I suppose you want to test new feature in NAV 2016 – enabling natively integration with CRM Online.

We can do in on following way. Before we start with integration, we should enable encryption in Data Encryption Management page. After that, to configure connection in NAV 2016, open “Microsoft Dynamics CRM Connection Setup” page and type your Dynamics CRM Online URL you already registered (https://YYYYYYYY.crm4.dynamics.com), your username (full YourAccount@XXXXX.onmicrosoft.com) and password.

Now we need to test the connection settings. We can do it running Test Connection command on ribbon. When we run it, NAV will try to establish a connection to the Dynamics CRM server and if the settings are valid and a connection can be established, a message appears that states the test was successful. If everything is OK, then we need click in Enable check-box.

NAVCRM1

After you configure all these fields, you need to click Yes to make synchronization between CRM Online and NAV. After synchronization is finished, the connection to CRM Online is configured and CRM integration is enabled.

NAVCRM2

Now, you can configure some additional fields if you want. I suppose to use help for this (but I’ll write about it in other articles). And on the end, if you want to disable CRM integration, you only need to uncheck Enable field.

How to Create CRM Online Trial Subscription

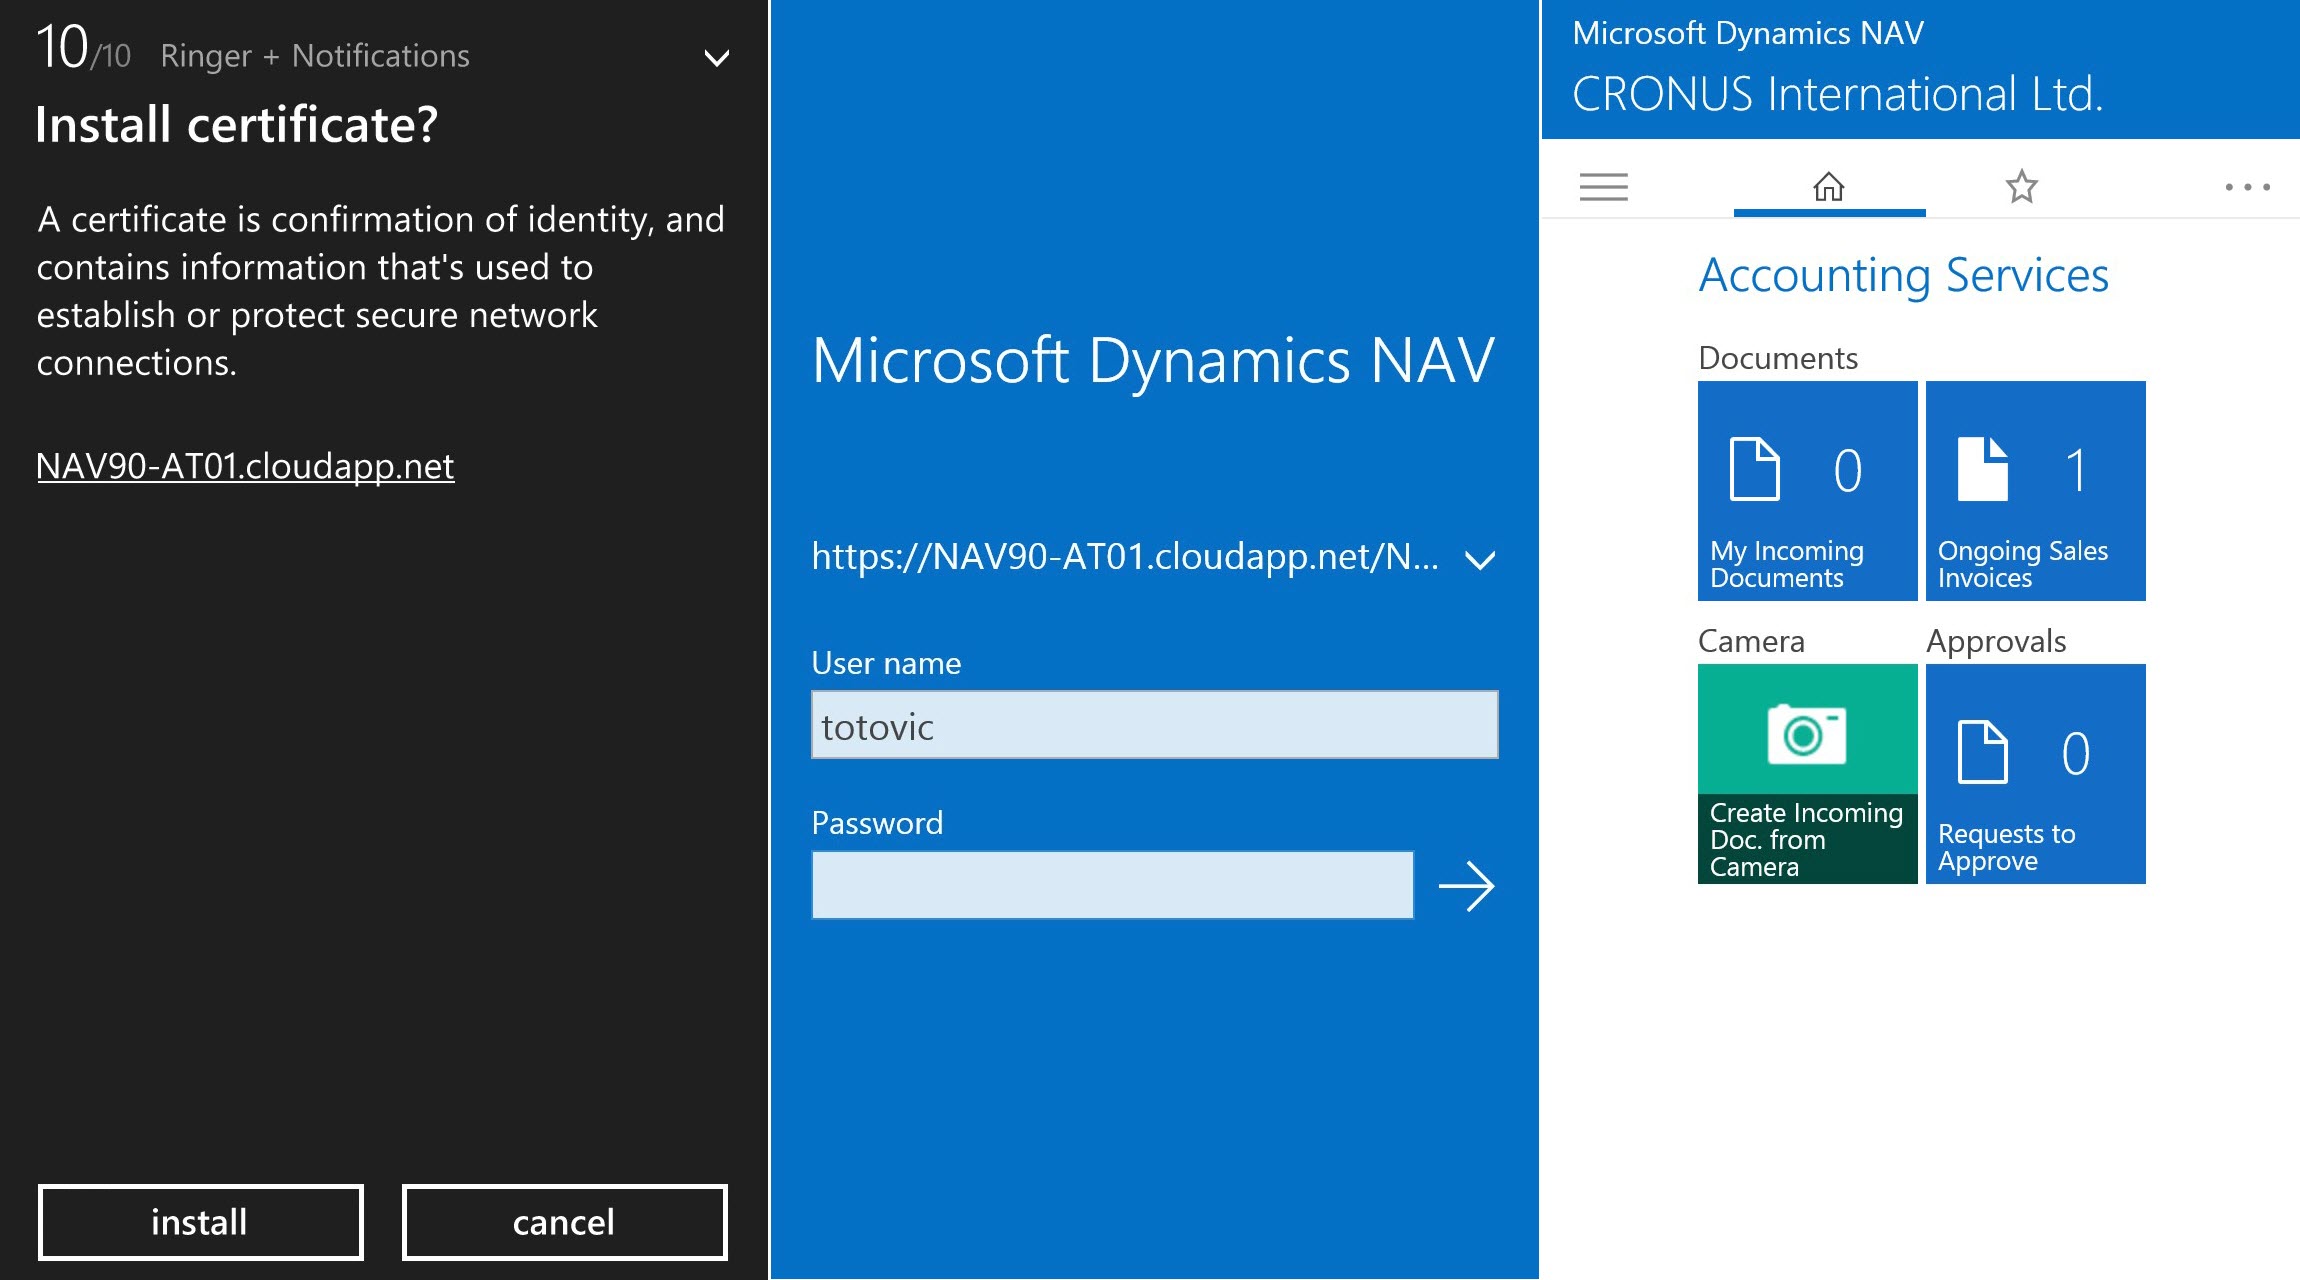
I suppose all NAV people have already heard that NAV 2016 has natively Dynamics CRM Online integration. This is a really great feature in new NAV release. Probably most of you want to try how it looks like. If you don’t know how to create your trial CRM Online subscription or didn’t try it, this article is for you. I want to show you how to do it, step by step.

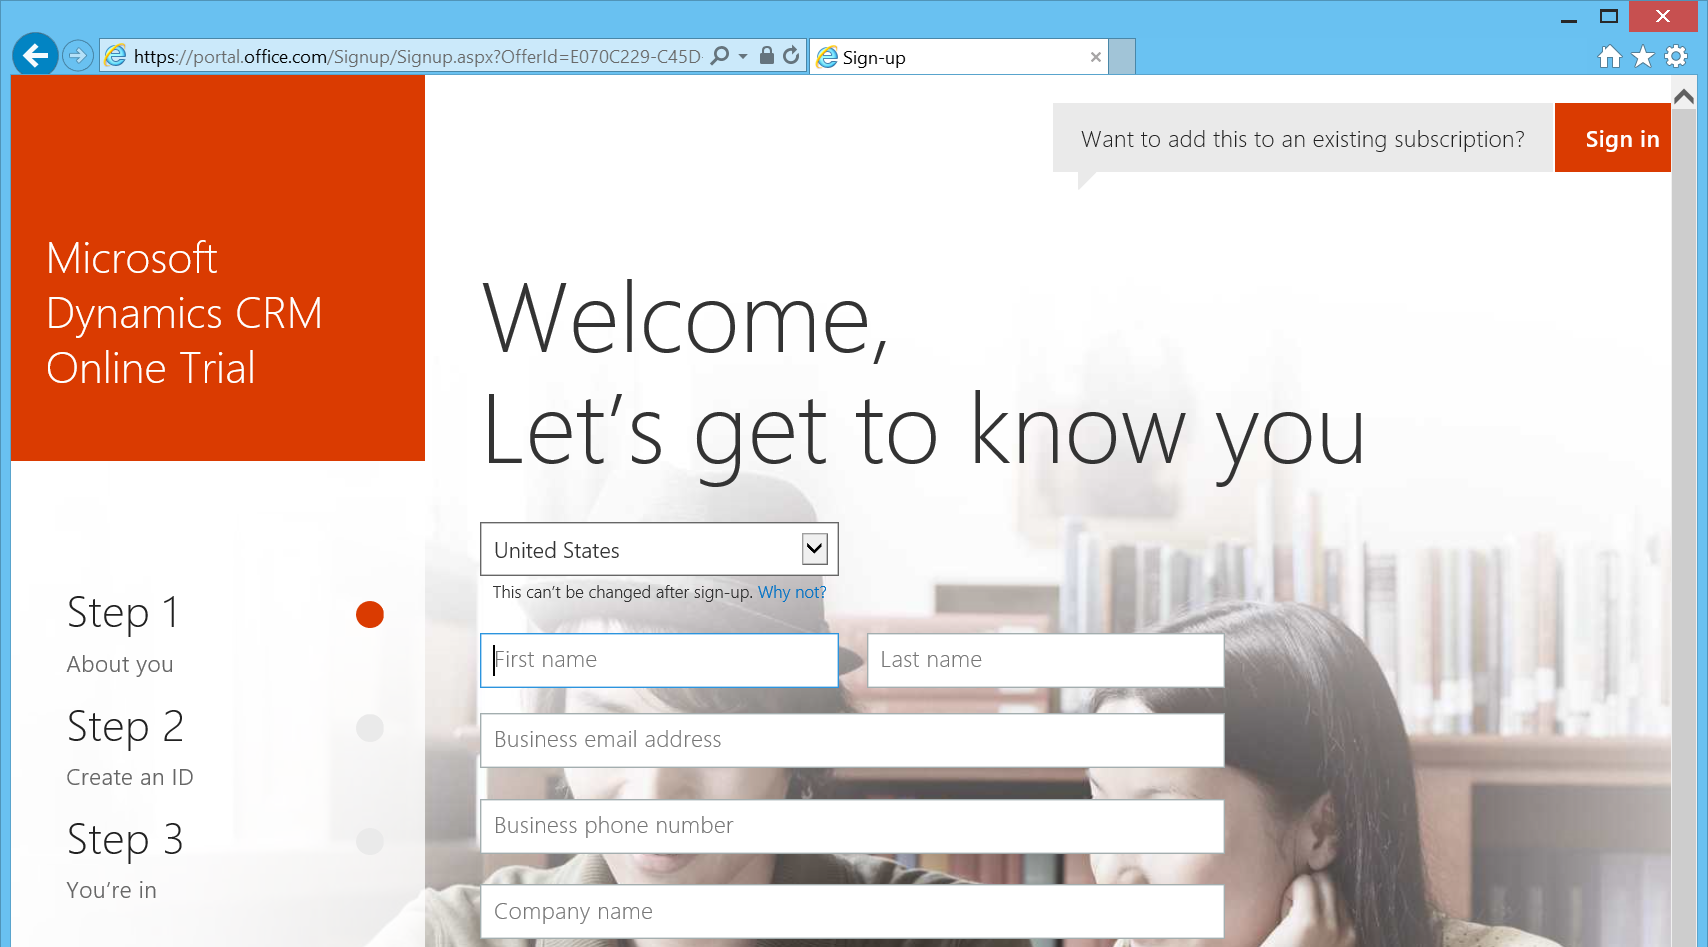
First open this web page. On this page, in upper right part, click the “Sign In”. You have to type your Office 365 account.

CRM1

Now you need to confirm this order to get Microsoft Dynamics CRM Online Trial with 30 day subscription for 25 users. After you confirm it, you will open your Office 365 Portal. You will see new e-mail with all instructions and I suggest read it. Click on Login and choose Admin.

Go to your Active Users on portal and add CRM license to you and your other users. You can do it clicking on Edit > Licenses > and check “Microsoft Dynamics CRM Online Professional”. Click Save.

Now you need to choose your CRM App, enter your domain name you already registered (*.onmicrosoft.com) and click “Continue Setup”.

CRM16

You can find potential issue here. Maybe you will not see it, but it is possible. If you get the following error message, try do to next step:

You are not a member of this organization. You (YourAccount@XXXXX.onmicrosoft.com) do not belong to the organization YYYYY. Verify the organization name and try to sign in again.

Resolution: Click the “Sign Out” button on the page that you see the error on. Then log back in with the correct login to access your Dynamics CRM Online organization. This is because the cookies that are used in the Internet Explorer browser sessions are trying to use your previous credentials to login.

Then, you should confirm some details about your language, country and currency. Then click the “Finish” and you can start “get started video”.

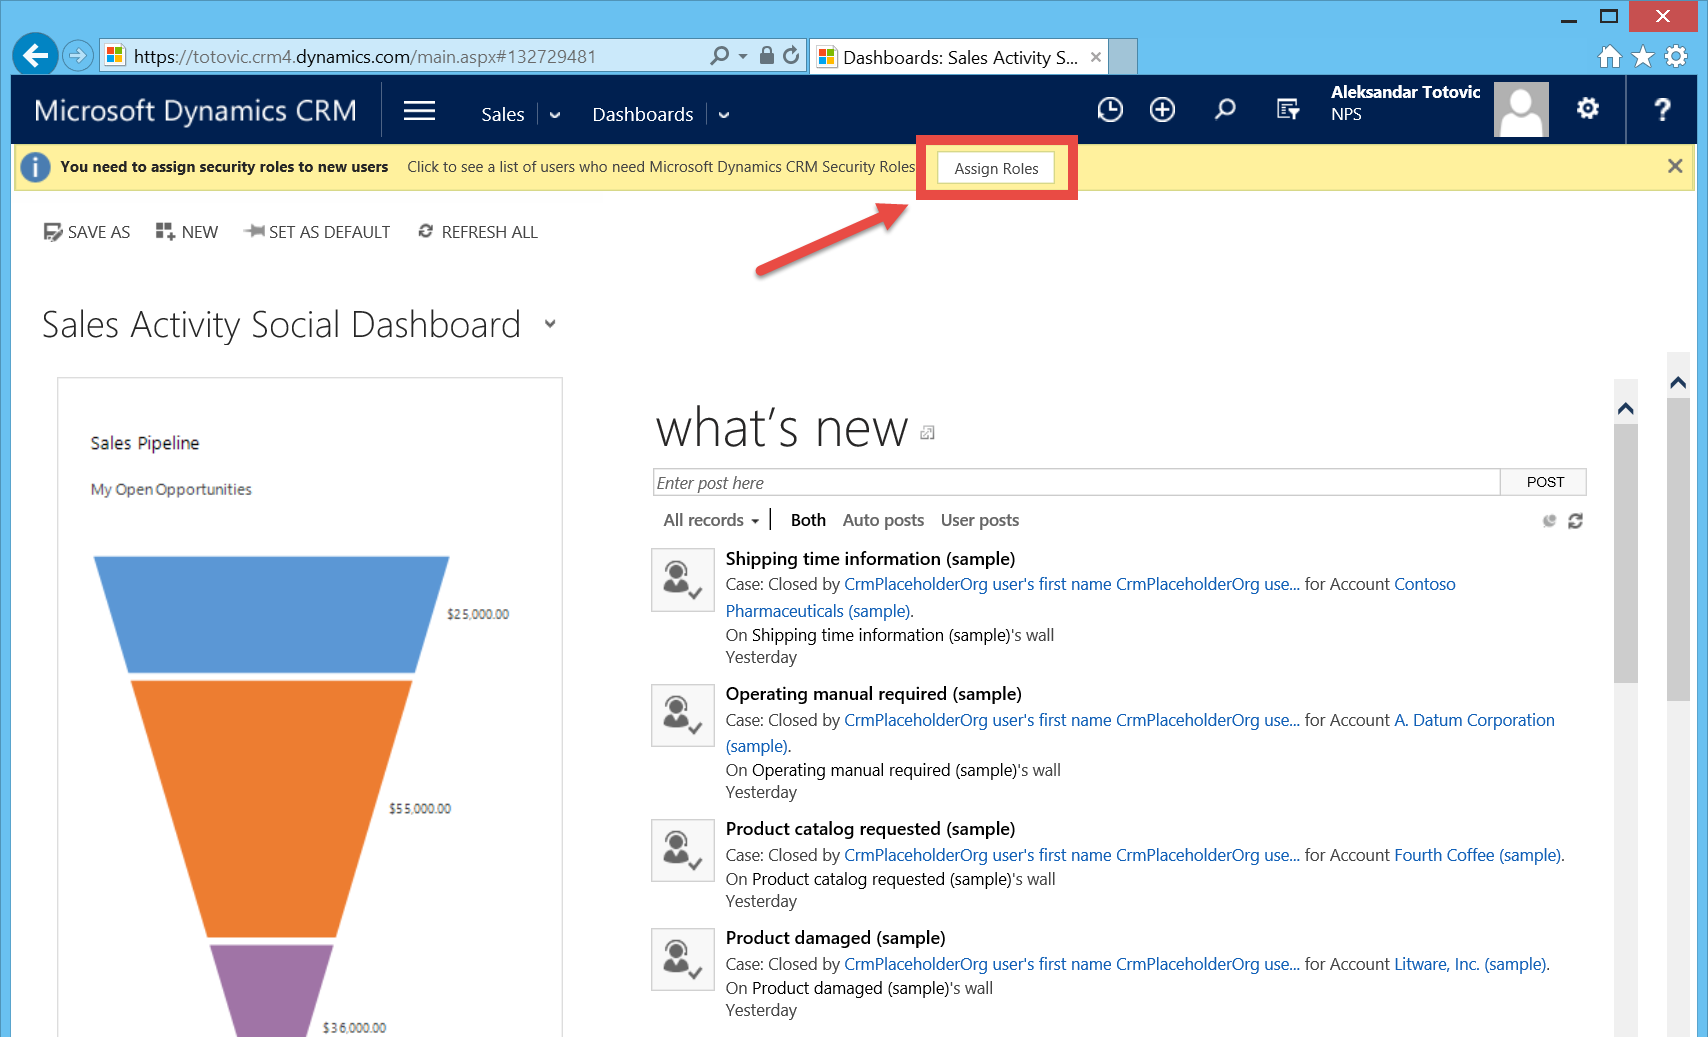
And… You’re in! Click on your CRM Online URL you’ve got on this page (copy this URL because you will need it later and for integration with NAV 2016). Now you’ve opened your CRM Online and you have to assign security roles to the new user. You can do it clicking Assign Roles button on the top of the screen.

CRM15

Now, assign security roles in CRM so this user can access your Dynamics CRM organization.

You can use your 30-days trial Dynamics CRM Online subscription. In next article, I will show how you can connect your CRM Online subscription with your NAV 2016.

Using Old C/AL Editor in NAV 2016

New C/AL Editor in NAV 2016 is really fine. I think we were waiting it for the years. I’ve already posted about it here.

But if you want to use old C/AL Editor from any reason, it is a possible. I don’t know reasons for it, but if you want…

You need to run Development Environment from Command Prompt using finsql.exe command and adding useoldeditor parameter. First you have to navigate to your C:\Program Files (x86)\Microsoft Dynamics NAV\90\RoleTailored Client folder and then run this command. This useoldeditor parameter is one of the parameters you can use. Complete syntax is following:

finsql.exe [command=<command> | designobject=<object type> <object ID>,] [servername=<server>,] [database=<database>,] [collationname=<collation>,] [file=<file>,] [filter=<filter>], [importaction=<default|overwrite|skip|0|1|2>,] [langid=<ID>,] [logfile=<logfile>,] [navservername=<name>,] [navserverinstance=<instance>,] [navservermanagementport=<port>,] [ntauthentication=<yes|no|0|1>,] [objectcache=<cache>,] [password=<password>,] [temppath=<path>,] [tenant=<tenant ID>,] [username=<user name>,] [synchronizeschemachanges=<yes|no|force>, ] [useoldeditor=<yes|no>]

You just need to set useoldeditor=Yes or only useoldeditor. If you still want to use new editor from command prompt, you need to set useoldeditor=No.

Automatic Recording Permissions in NAV 2016

In older NAV versions, every time we needed more permissions sets then we already have in NAV, we have had a problem. It was not so easy and we had to be careful with this process. There was no some automatic tool for permissions recording. Now, we got it.

If we need more permissions sets, we can make them manually as earlier. But now we can use new automatic tool as well. This tool for recording permissions is based on the code coverage functionality. We can do more different activities on NAV and it will be recorded.

permissionset

We just need to create a new Permission Set and choose Permissions. We need to click Start button and then we have to work all activities this role need to do. For example, open Sales Orders, create new, and create new Customer and new Item. When you finish with activities, click Stop button on Permissions and system will fill your page with all user rights. System will add only tables you used with Read permission; you have to add other permissions you need (Insert, Modify, Delete).

If you have forget some activities, you can do it again and after you click Yes on question “Do you want to add the recorded permissions?”, you will get add new rights.

This is really useful feature. Maybe we could use some of similar solutions, but now we have it in standard NAV.

Sending Electronic Invoice in NAV 2016

We already be able to send invoice as e.g. PDF in mail attachment and it was good feature, but now in NAV 2016 we can do more. We have a really new good feature for invoice sending. Now, we can send business documents electronically. The same situation is for purchase documents; we can receive and convert vendor’s invoices to a purchase invoices in NAV. As document exchange service, we will use external provider. Standard NAV will support sending and receiving electronic invoices and credit memos in the PEPPOL format.

Before we start with using electronic documents, we need to configure Document Exchange Service Setup.

e1

Then, we have to make Document Sending Profile as we need. This is place where we can choose how we want to send our invoice to customer. If we want to send electronic document directly Through Document Exchange Service, you need to set it and then choose format.

e2

After that, we have to add this profile to our customer. Before we send document to our customer, it must have configured VAT Registration No. or GLN. To send document, we have to choose Post and Send on our Sales Invoice and system will send it.

We can also decide to send our sales invoice in electronic format as mail attachment. To do it, we have to configure Document Sending Profile on different way:

e3

Now, when we run Post and Send on our Sales Invoice, system will make an e-mail (every time when we choose Post and Send system will give us possibility to change way of document preparation and sending).

e4

When you see your electronic document, you can see that it is an XML file. You can also choose to save this document on disc or some other possibilities.

e5

New Cumulative Updates for NAV 2015, 2013R2 and 2013

Today, Microsoft has released new cumulative updates for Microsoft Dynamics:

  • NAV 2015 (CU 12 – Build 42951)
  • NAV 2013 R2 (CU 24 – Build 42950)
  • NAV 2013 (CU 31 – Build 42948)

All of them include all application and platform hotfixes and regulatory features that have been released for these NAV versions.

With these cumulative updates, Microsoft Dynamics NAV 2015, 2013R2 and 2013 are fully compatible with Windows 10 and Office 2016.

You can download CU 12 for NAV 2015 here. CU 24 for NAV 2013 R2 can be downloaded here and CU 31 for NAV 2013 from here.

NAV 2016 Web/Tablet Client – Multi Company and Language

One of the lacks in old Web Client was impossibility to change companies and/or languages. It was pretty inconvenient for using. Answers from Microsoft were that we have to use different Web Server Instances. But, imagine we have 10 companies and we need 3 languages. What the final number of Web Server Instances will be necessary?

I suppose my customers will survive this issue on Web Client, but imagine one manager who manage 10 companies and uses Tablet Client. We cannot expect from on manager to change instances for each of his companies.

websettings

But, as I said, it was a problem. Only, it was. Finally we have got a solution for our wishes. Microsoft is listening us. We got everything we ask and more. Now it is now possible to dynamically switch the language, region, time zone, company, and work date of the Microsoft Dynamics NAV Web Client. As I said, it is more then we ask. But, the best is we can use it on Tablet and Phone Client as well.

tablet sett

For the most changes, we just need to set changes and sign out and sign in again to have the change take effect. We can change it using “My Settings” command. These settings are now removed from the Web.config file and it is now part of Web Client user configuration.